A percolator coffee pot is a great way to make your favorite morning beverage, but how often do you clean it? If you’re like most people, the answer is “not very often.” This can be dangerous as well as unhealthy. The coffee oils and residue from old brews can build up in the machine over time and decompose into acids that are harmful to humans. In this blog post, we will discuss how to properly clean a percolator coffee pot so that you can enjoy a hot cup of joe for years to come!
As an Amazon Associate, I earn from qualifying purchases and sometimes recommend products from other sellers at no extra cost to you. For more details see my disclosure policy and privacy policy.
Why you Need to Clean a Percolator
Coffee, whether it’s served hot or iced, has a soothing effect. The taste of a decent robust cup of coffee can brighten the gloomiest of days.

Percolator coffee, in particular, stands out. This is because percolator coffee is much more potent and powerful than French Press or drip brew.

The Coffee Chef Planner
Daily planning, journalling, and a proper coffee tasting log with a flavour wheel — 20 pages in one printable bundle.
Shop the planner →
Brewforge
A growing edit of coffee bar gear we’d genuinely want on our own counter, added to as we find things worth having.
Shop Brewforge →What do you do if your coffee tastes old, burnt, and reminiscent of swamp water?
The problem may be that your previous percolator coffee pot needs to be cleaned. Coffee residue can build up in your coffee maker, as well as minerals from the water used. This, combined with residues of old grounds, might provide a sour taste to your percolator’s brew.
The concept of a percolator cleanser may be frightening, but it doesn’t have to be that way. We’ll look at the various ways to clean a percolator in this post. Whether you have a conventional stovetop percolator or an electric one, we’ve got you covered.
How to Clean a Stovetop Percolator
Coffee is notorious for leaving stains. Coffee will discolor over time, whether it’s a marble coffee pot or a glass percolator. You’ll discover how to clean a stainless-steel coffee percolator in this section.
A stovetop percolator is simpler to maintain since you don’t have to worry about the wiring or circuits. These percolators are also more long-lasting and will last for years; even being handed down from generation to generation.

While you should wash your percolator after each use, it’s more effective to clean it every month in this case. Cleaning stainless steel coffee pots is straightforward.
What You Need:
- Brush
- Baking Soda
- Salt (Optional)
- Water
- Apple Cider or White Vinegar
What You Need to Do:
- Fill the percolator with water.
- To the water, add a quarter cup (4 tablespoons) of baking soda. If your coffee maker is emitting an odor, you can add a spoon of salt as well.
- Put it on the burner and let it run through a cycle.
- Allow the water to cool somewhat before scrubbing the interior with a brush to remove any residue and build-up.
- Remove the salt from the water, then rinse thoroughly.
- Fill your percolator halfway with water and vinegar.
- Rinse the percolator with water until no more coffee grinds will float to the surface, then run another brewing cycle. After that, wait for the percolator to perk up; then drain and rinse it again.
- Add three more cycles of fresh, clean water to your percolator to remove any remaining vinegar or baking soda. You may continue this process until your percolator no longer smells of vinegar.
How to Clean an Electric Percolator
This part is for you if you have a West Bend percolator or any other item with a similar shape. Let’s learn how to clean an electric coffee pot or percolator so that we can all enjoy our favorite brews again!
What you need:
- Dishwashing detergent or Dip-It percolator cleaner
- Baking soda
- White vinegar
- Hydrogen Peroxide (Optional)

Basic Cleaning:
- The first step is to clean the percolator as you would normally. Do not attempt to clean your percolator in a dishwasher unless it’s been specified otherwise. Also, avoid using steel wool scrubbers and aggressive abrasives since they may scratch and harm your percolator.
- A washcloth or a soft towel should be used always. If there’s a difficult stain or residue, use a plastic scrubber or dish brush. Using harsher materials will scratch the protective layer and cause your percolator to rust or stain readily.
- Remove any trapped coffee granules from the tiny gaps between components while cleaning your percolator. With a toothpick or a pin, you may remove them.
Vinegar Wash:
- One of the most essential elements of cleaning your percolators thoroughly is removing limescale and build-up. Calcium and other salts from your water may be dissolved in acidic solutions like white vinegar, which is one cause of this accumulation.
- Remove all stains and residues from the coffee maker. Prepare it for use by drying it out. A cycle with a solution of vinegar and water is required.
- Fill half of the percolator with water to accomplish this. Then, slowly add vinegar until the percolator is full. This chemical combination will descale the inside and parts of the percolator without damaging it.
- Open the basket, place it in the basket holder, and begin a brew cycle. Allow 15 to 20 minutes for this solution to descale the brewer.
- Allow it to cool for another 15 minutes before removing the percolator and pouring out the water. After that, wash it with dish soap or a percolator cleaner like Dip-It for hand washing.
- To rinse the percolator, fill it with fresh water and drain it. Run another brew cycle after plugging in the percolator. Repeat by emptying out the water and pouring in clean water once more to remove any vinegar scent from the percolator.
In most situations, this vinegar brew is sufficient to clean your percolator. However, if it’s severe, you may need to go on to the next step for a more thorough cleaning.
Baking Soda Scrub
Despite the fact that most dirt and residues are cleaned with soap or vinegar, more serious build-up will necessitate something more abrasive. Baking soda is what you need to clean anything severe, and its gritty texture is ideal for removing stains, odors, and tenacious residue.
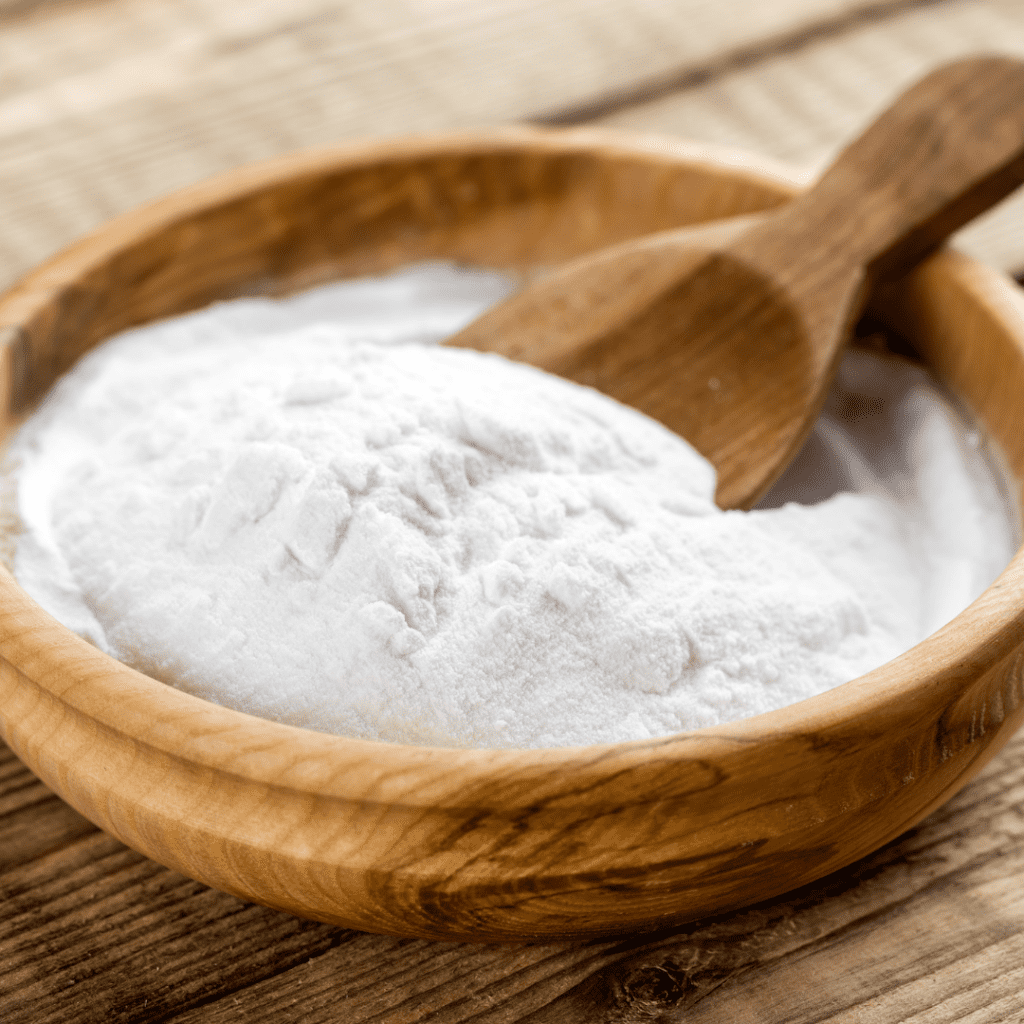
Drop a spoonful or two of baking soda in your percolator and dissolve it in some water to clean with this pantry essential. Allow the combination to sit for a few minutes.
Then, as before, wash and rinse. For greater cleaning force, use a dishcloth or soft brush instead of a regular brush.
If you still see stains or residue in your percolator, it’s time to try something new. Clean your percolator with a solution of hydrogen peroxide and water.
Still dirty? This might help.
Cover the dirty areas with a paste made of baking soda and a little water. Allow it to sit for a few moments before settling.
Pour the vinegar over the whole thing. The fizzy neutralization reaction removes hardened gunk and residue from your drains.
Rinse the percolator with water after the fizzing has stopped.
Is It Possible to Clean My Percolator with Salt?
Adding salt to your coffee maker’s water will eliminate undesirable scents, such as stale and burnt odors. However, using it in place of the baking soda might damage the steel of your percolator.
Is It Possible to Clean with Lemon Juice Instead of Vinegar?
To clean your percolator’s vinegar, utilize an equal amount of lemon juice instead.
Keep your percolate fresh and clean
A percolator coffee pot is a great way to make flavorful and strong cups of coffee. It’s important to clean your percolator so it can continue making delicious and aromatic coffee for years to come. We hope this how-to post has helped you learn how easy it is to keep your brewing equipment in tip top shape with just a little bit of effort every once in awhile!